Sometimes, it takes a bit of exploration and the right opportunity to unveil your hidden strengths. Apparently my thing is reconfiguring closets!
How clothes are stored has always driven me crazy. I remember when I was little, I believed all my stuffed animals had feelings. So, each night, I had to sleep with a different stuffed animal that way none of them would feel left out! I guess this has carried over into how I feel about clothing. I believe the better you feel towards your clothing and the better you treat each item, the more expensive and new they will feel when wearing them.
I had the chance to go to the house of a virtual client that I have been working with intermittently for a few years. She wanted help with her closet. We walked through her bedroom, through the bathroom, and when she opened the closet door I was flabbergasted. Here’s this prominent, well-loved woman within her community, getting dressed in this chaos every day?! AND always looking cute and put together? The energy was overwhelming.
I wasn’t planning on blogging about this, so forgive me for my lack of photos. Below is a photo of one of her closets.

Her closet was a super dark hole, where every nook and cranny was shoved with an item that probably went untouched. Stepping in to grab an item meant stepping on a bag of totes, a bag of brand new scarves, or missing mates of shoes.

She had purses in dust bags that still had the tags on, shoes from 2009 still in the box, and forgotten and lost mates of shoes covered in dust that had slipped behind the wobbling shoe stand. I found a wad of receipts in a purse from 2013!
She had clothes everywhere. Some were folded in a dresser, a closet in her bathroom, a closet in her bedroom, and seasonal items packed elsewhere. When she would get dressed, she would pinball across her bedroom and into all the closets for a simple shirt, pant, and necklace.
I knew I had to do something. She gave me full creative freedom and we immediately got to work.
step one
Figure out how much time you want to devote to the project FOR THE DAY.
With Marie Kondo, she’d say gather all the clothes and sort them all at once. Lady - we got lives. Nobody got time for that. So for us, I asked my client, “how much can you mentally handle today?”
She said, “maybe 2 hours.”
We brewed some coffee and got to work.
With having her clothes everywhere, we focused on her main closet where she spends most of her time getting ready. We pulled all of those clothes out and grabbed a few empty bins for donate/sell piles to compile as we went. Separate these items immediately into bins as you go so you’re not doing double the work.

This doesn’t really show the depth of the piles. It was a lot of clothes.
to donate
Anything that was stretched out, pilled, or dated.
I also like to see how the client is doing with the process. If they’re not really letting go of anything, I ask them to think of this pile as if they’re out shopping right now. Is there anything here that they wouldn’t purchase in a store today? No? Then out it goes. This is huge for most people! This opened the flood gates to really how much she could get rid of.
There’s something to say about holding on to pieces just because you spent money on them. Gotta let that go and not let it hold you back from only owning what you love.
to sell
Anything that was still good quality but not really her style. Sometimes she had 2 of the same item but in different sizes with the tags still attached. So we’d try any questionably fitting items and I’d give her an honest opinion on which size looked best.
We put the clothes back in the closet. There was room to breathe now and all the clothes were off the floor and no longer squished together. I wish I had a photo. But like I said, I didn’t think the transformation would be as huge as it turned out to be.
We still had about 15 minutes left on our Mental Clock. I asked about shoes. She got rid of maybe 3 pairs of shoes and said she loves them all and is keeping them and there’s nothing I could do to stop her! That’s totally fine! Lady loves her shoes but now I had to solve another problem: I could not keep them on that wobbling, swaying, stacked shoe shelf.
I looked on Pinterest to find a solution and came across this post. Unfortunately when I clicked on the link it had no information about how or where the shelves came from.

So I searched and searched and I couldn’t really find any shelves similar to purchase online, so I headed to Lowe’s.
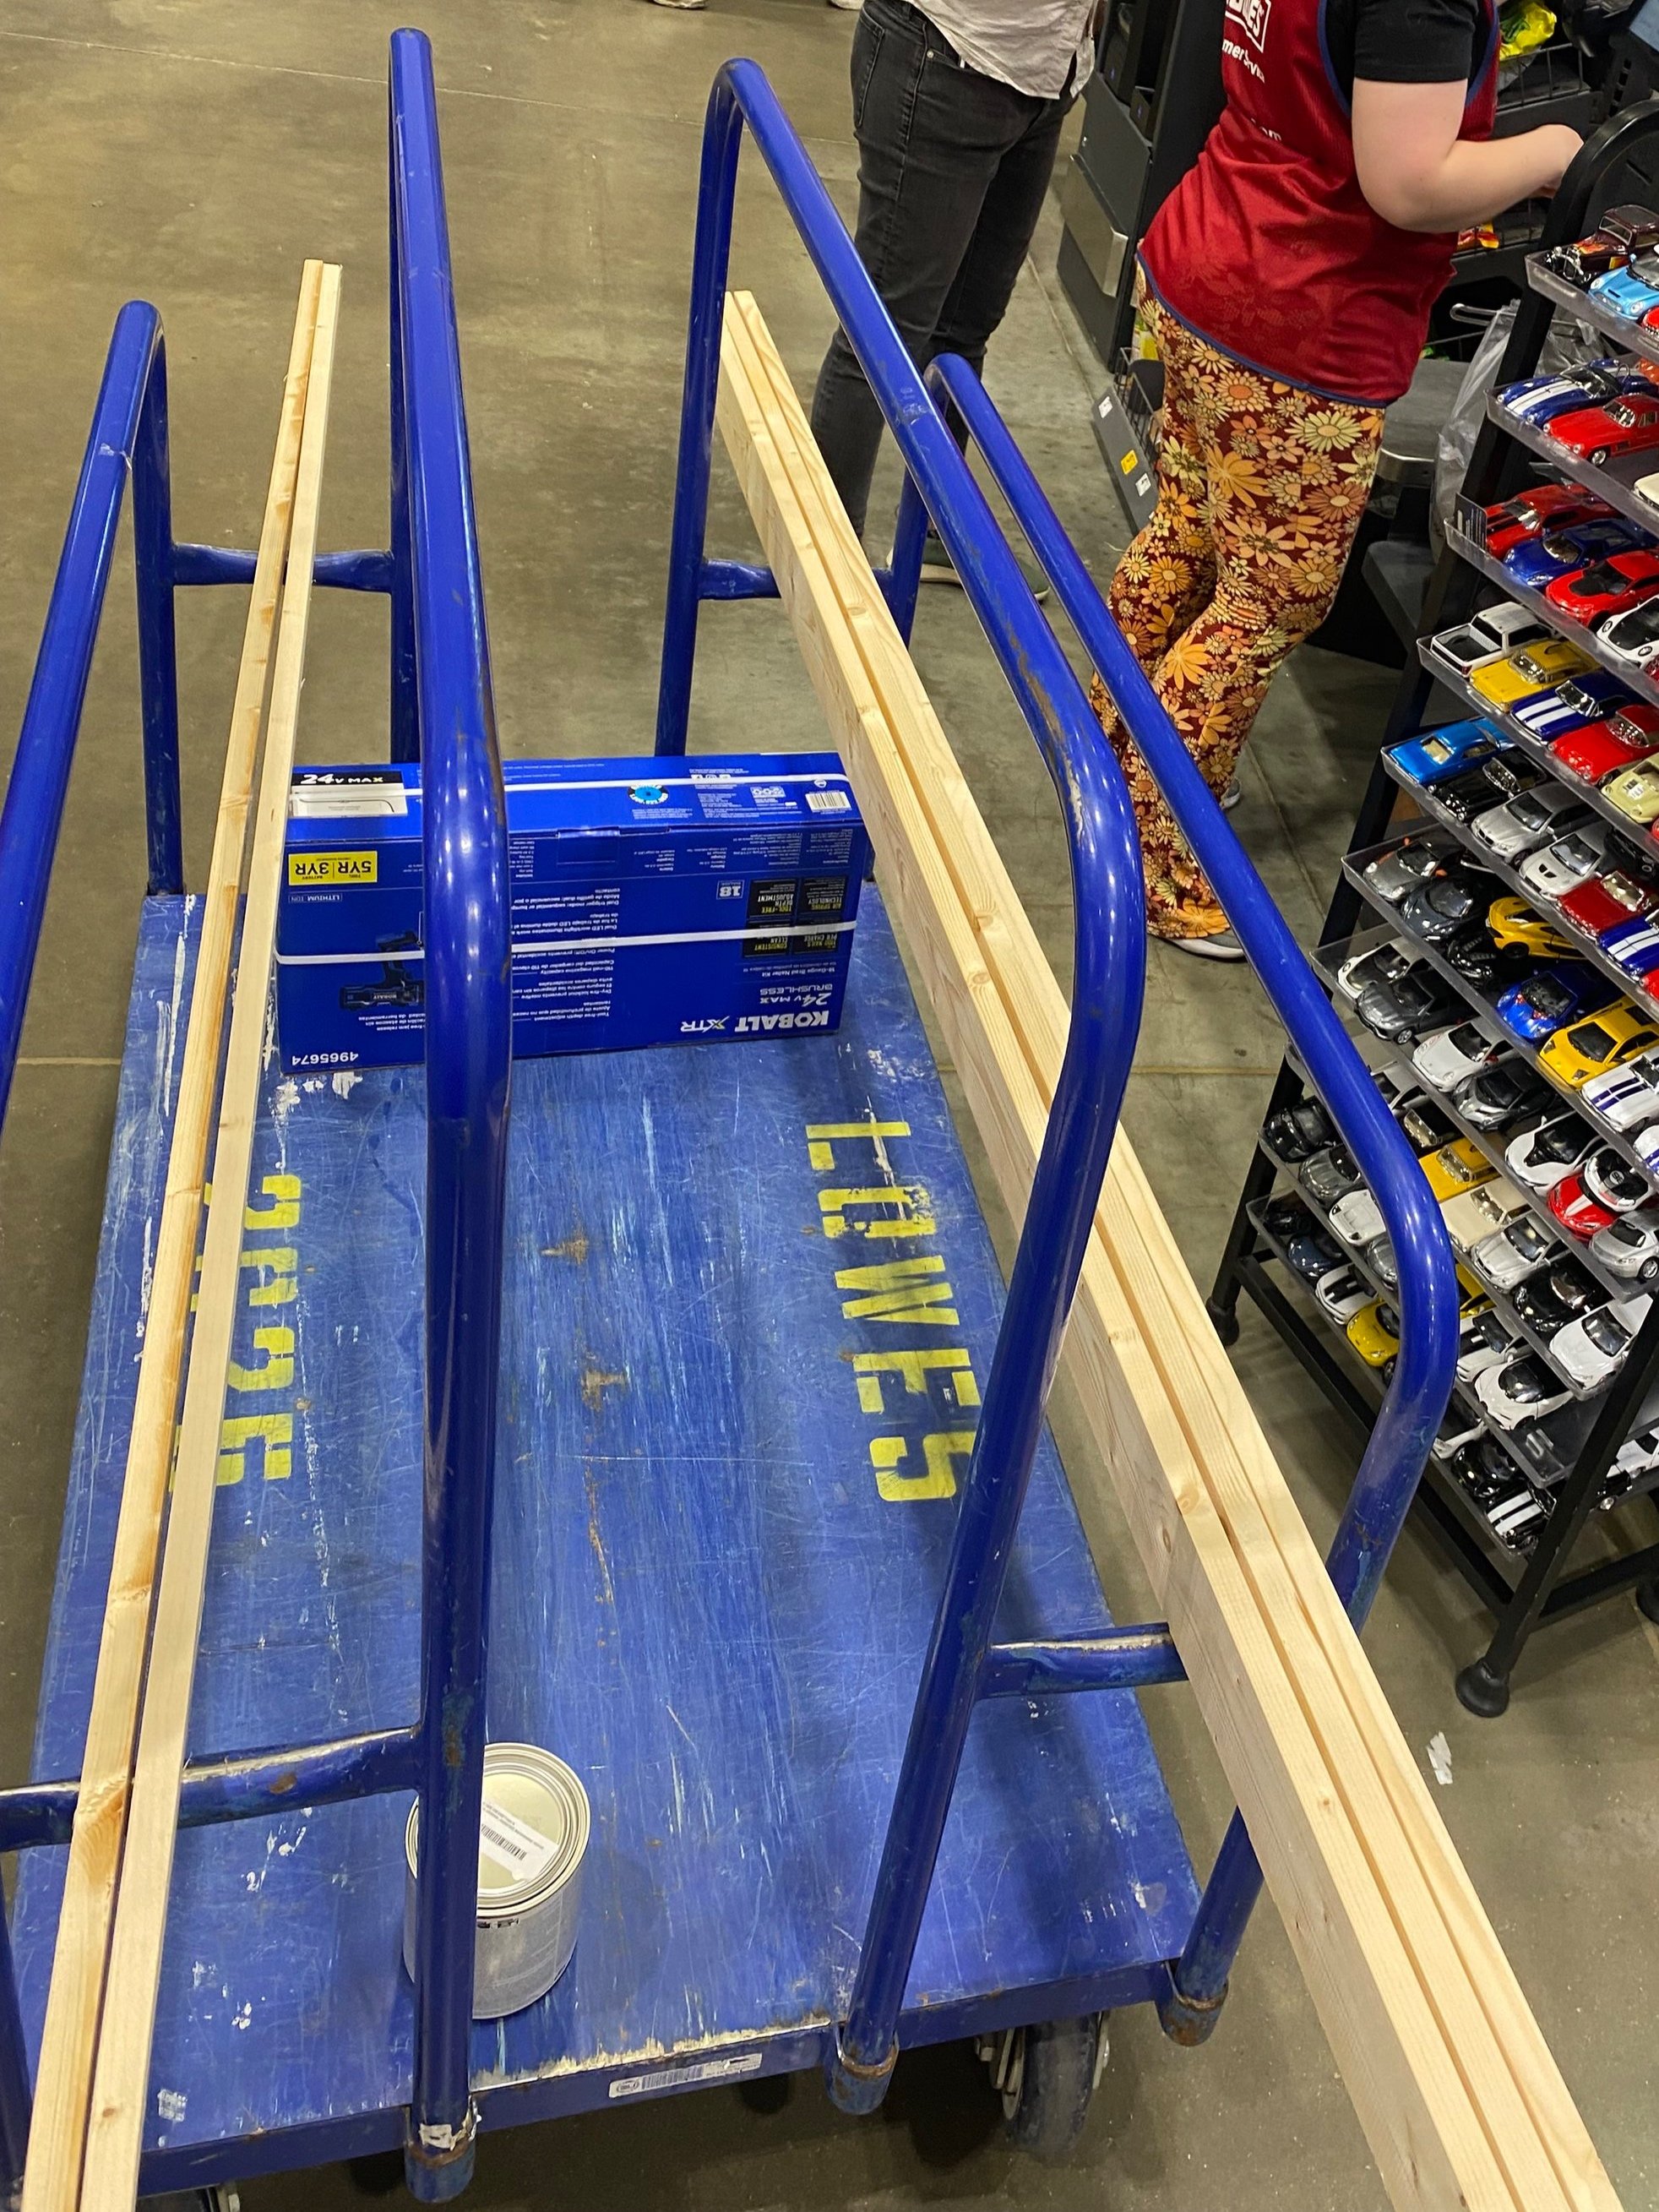
Don’t let this pic fool you - I underestimated the amount of wood I would need and had to make another trip
Now, I have zero photos from us actually building these shelves. But here’s the step-by-step process of what I did and how I got there.

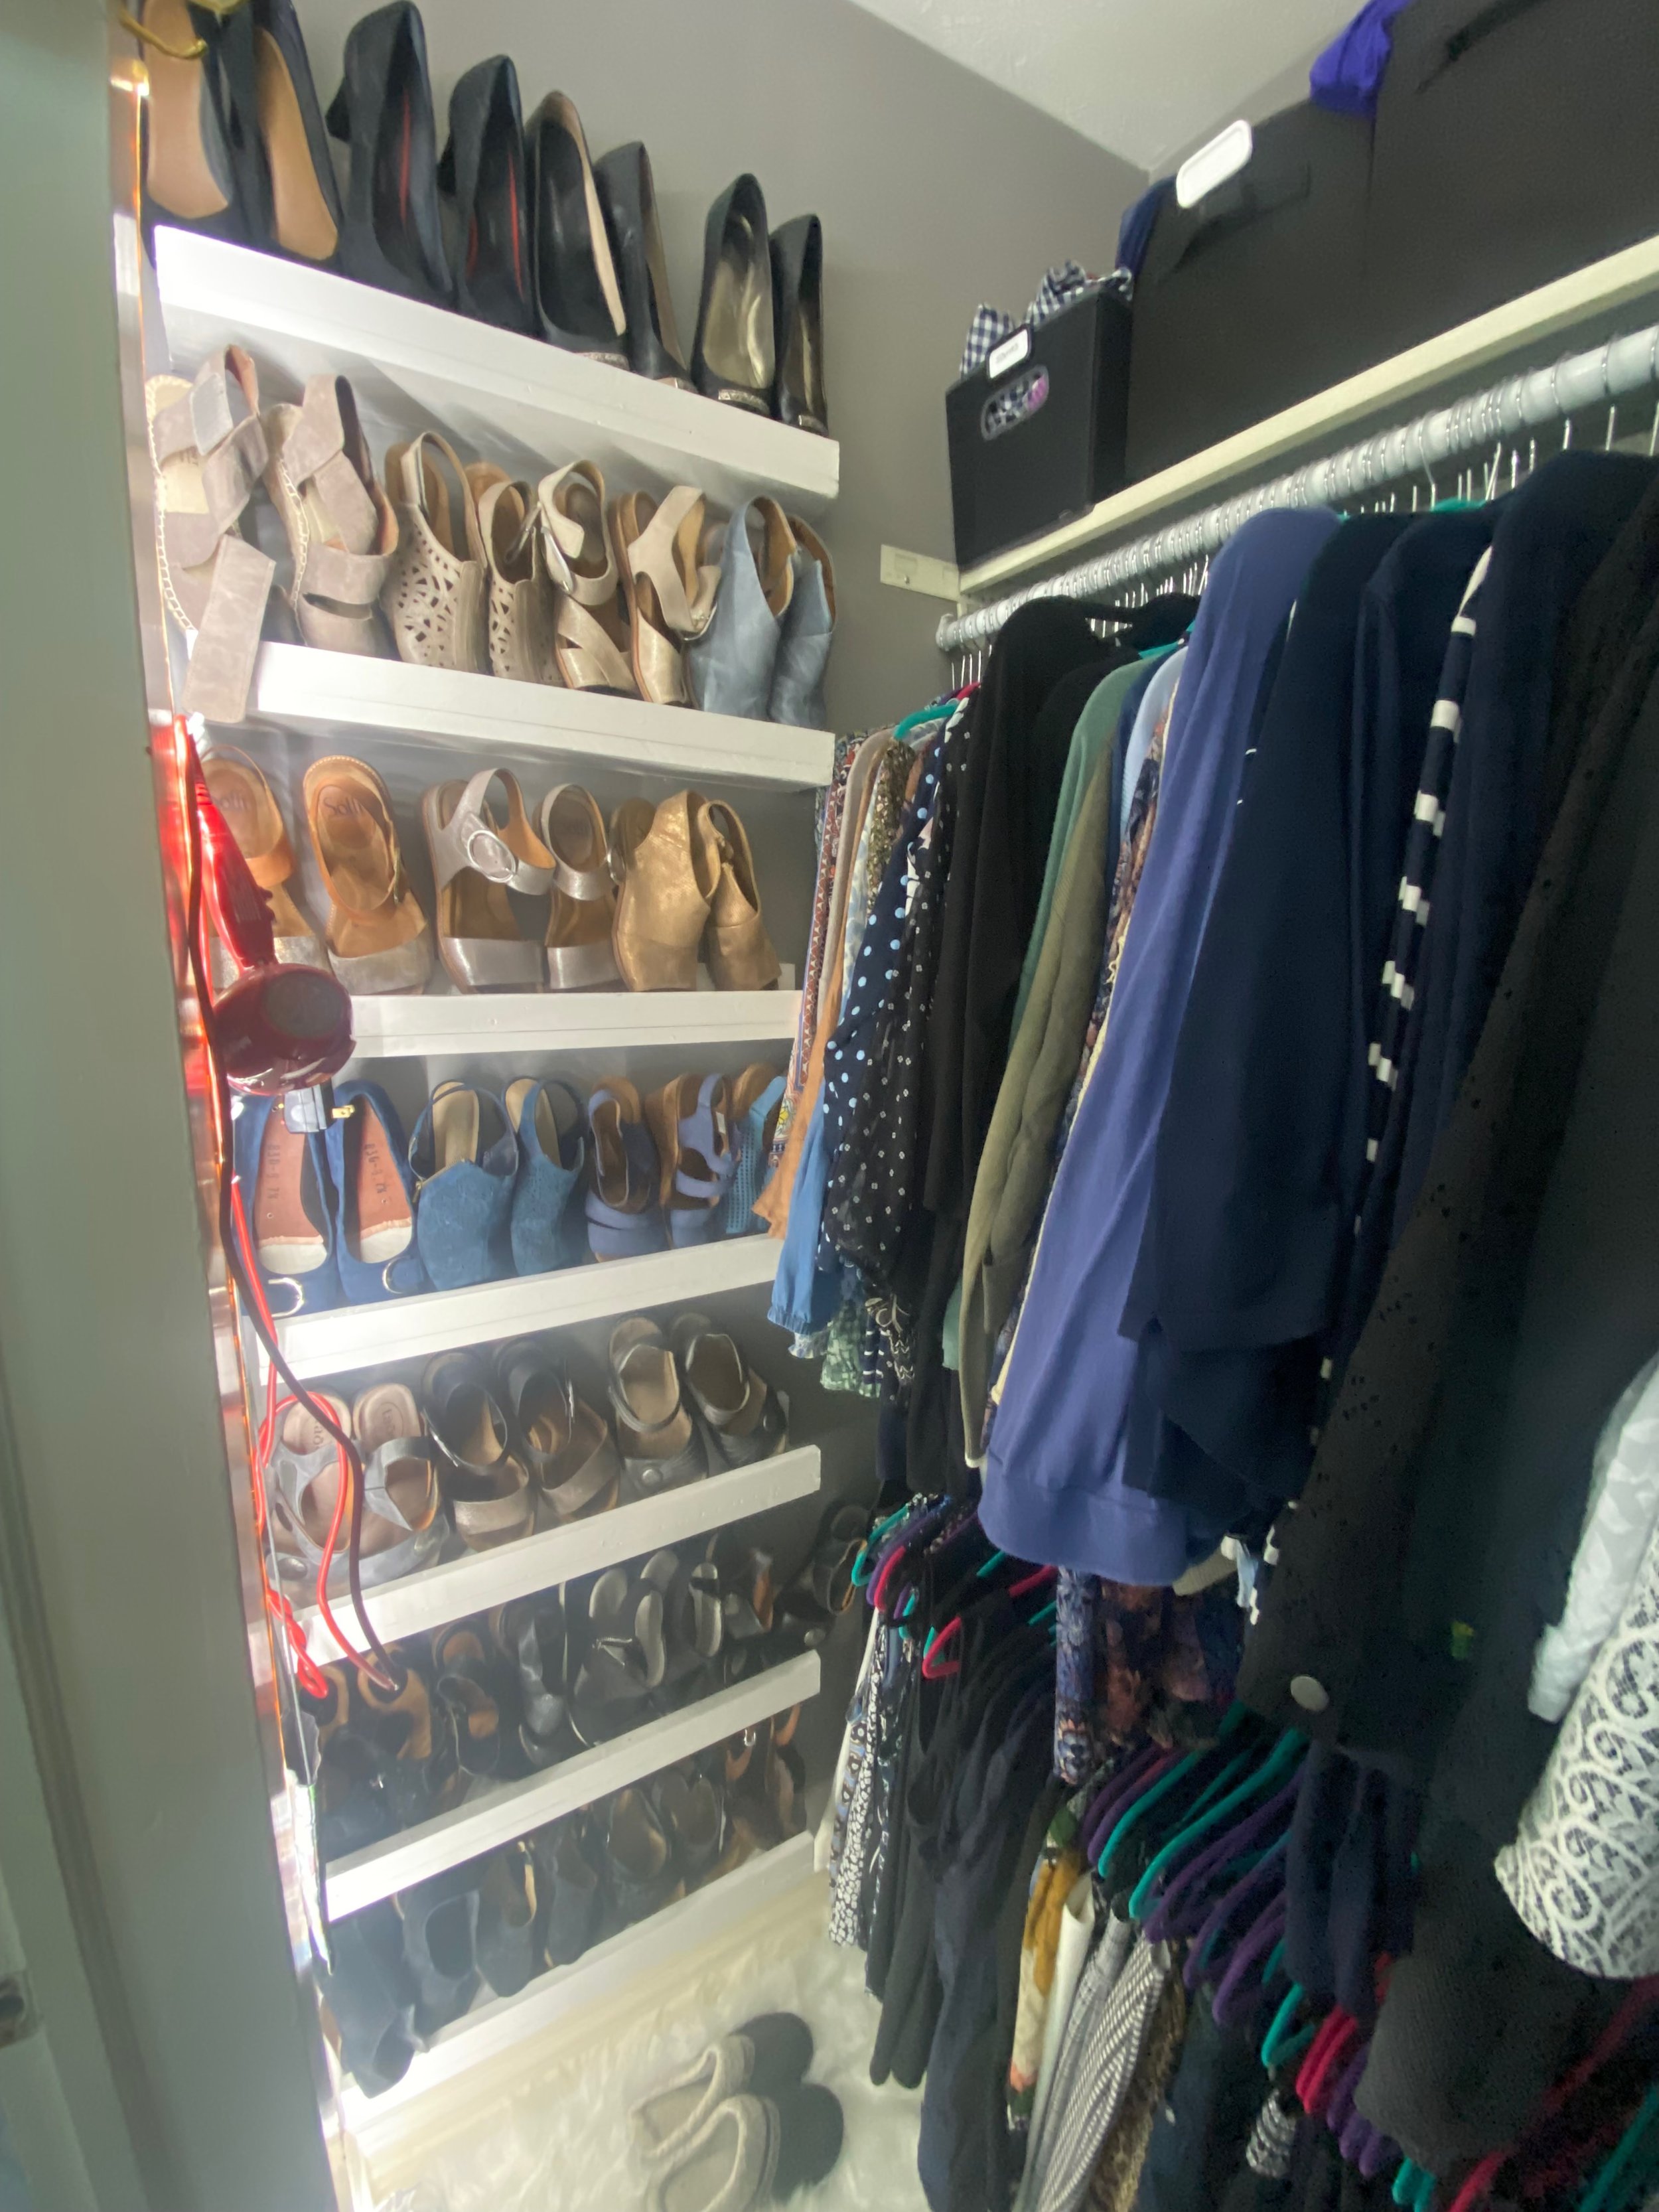
I guess this process photo shows you how much room she now has on the racks! Also my wife installed the shoe shelves. I do not do tools really.
Doesn’t this closet already feel so much bigger?! Sometimes going up the walls and adding height storage is better than weighing it down at the bottom. Not to mention, who wants to bend down and find shoes? Having them displayed on the wall within arms reach is much better for your knees, eyes, and back.
For belts, I found a random S hook in one of her tote bags so we put all of the remaining belts on the S hook and hung on the bar in the closet. Before they had been on the side on the accordion shelf.
So roomy and this is only halfway finished!
We measured the wall to see how long the shelves could be without hitting the shoulders of the hanged clothing. 2ft was safe. 2 ft ended up fitting 3-4 pairs of shoes.
Natalie (wife pictured) cut all of the wood pieces to measure at 2 ft long. We had one 1x4 to anchor into the wall, one 1x4 base for the shoe to be on, and one 1x1 lip to keep the shoe in place.
Once all the pieces were cut to length, I sanded them down, dusted them off, and painted a Sherwin Williams Marshmallow white. Linked here because why not. I think we did the cheapest paint option we could find at Lowe’s, a satin interior little quart that cost maybe $15.
I did 3 coats of paint since the wood was low quality. Once the paint was dry, we wood glued the pieces together, clamped them together, and put a few nails across as needed to create the shelves.
To install, we placed the shelves 11.75” apart from each shelf. You can change this measurement depending on how big or small the shoe is.
Here’s another process photo once the shoe wall on the left side was complete.
For future projects, I would probably do a shelf that was a little deeper. Instead of putting the lip on top of the shelf board, which removed a full inch from the space allotted, I would get a 1x2” board to use as the lip and place it on the end to get full use of the space. It was fine with most of her flat shoes, but the heels did have some trouble fitting. These are also shelves for summer shoes only. Her boots and booties are in another closet for a project for another day.
As you can see, I added this electrical tape LED lighting around the door frame. This was actually really easy to figure out and I am not one for understanding electrical things? It was totally out of my comfort zone, but I did it! I had to cut and add the corner pieces to shape around the door.
It has a remote control where you can turn the light on and off and change the shades. So, with fear of losing small items, I added velcro to the back of the remote and adhered it to the wall. The only downside about this remote situation is that the remote has to be pointed at the box end of the lighting, so the solution was to just put the remote upside down on the wall and it has zero issues turning on and off.
You can see the glow by the shelves. It adds some daylight for a super dark room where now you can clearly see what’s navy and what’s black.
I ordered this fluffy rug from Amazon for $30 for obvious reasons.

If you recall the before photo of this side of the closet, there was an accordion hook for the jewelry/belts/robes/restock area. Tons of her jewelry was unworn because you couldn’t really see or find anything. I read that there are only so many decisions you can make in a day before you start making bad ones, so Obama always would wear the same suit.
The easier it is to get dressed, the more success you’ll have for the day. I adopted this in my own wardrobe for, funnily enough, underwear. I found the kind that I loved, and bought a couple dozen of those and tossed the rest. Life-changing.
Ok back to my closet reno.
We had to go back to Lowe’s to purchase more wood. Which was obnoxious because then we had to saw, sand, dust, paint, glue, and nail together more shelves which took another 2 days of waiting. But, finally, the shelves were installed.
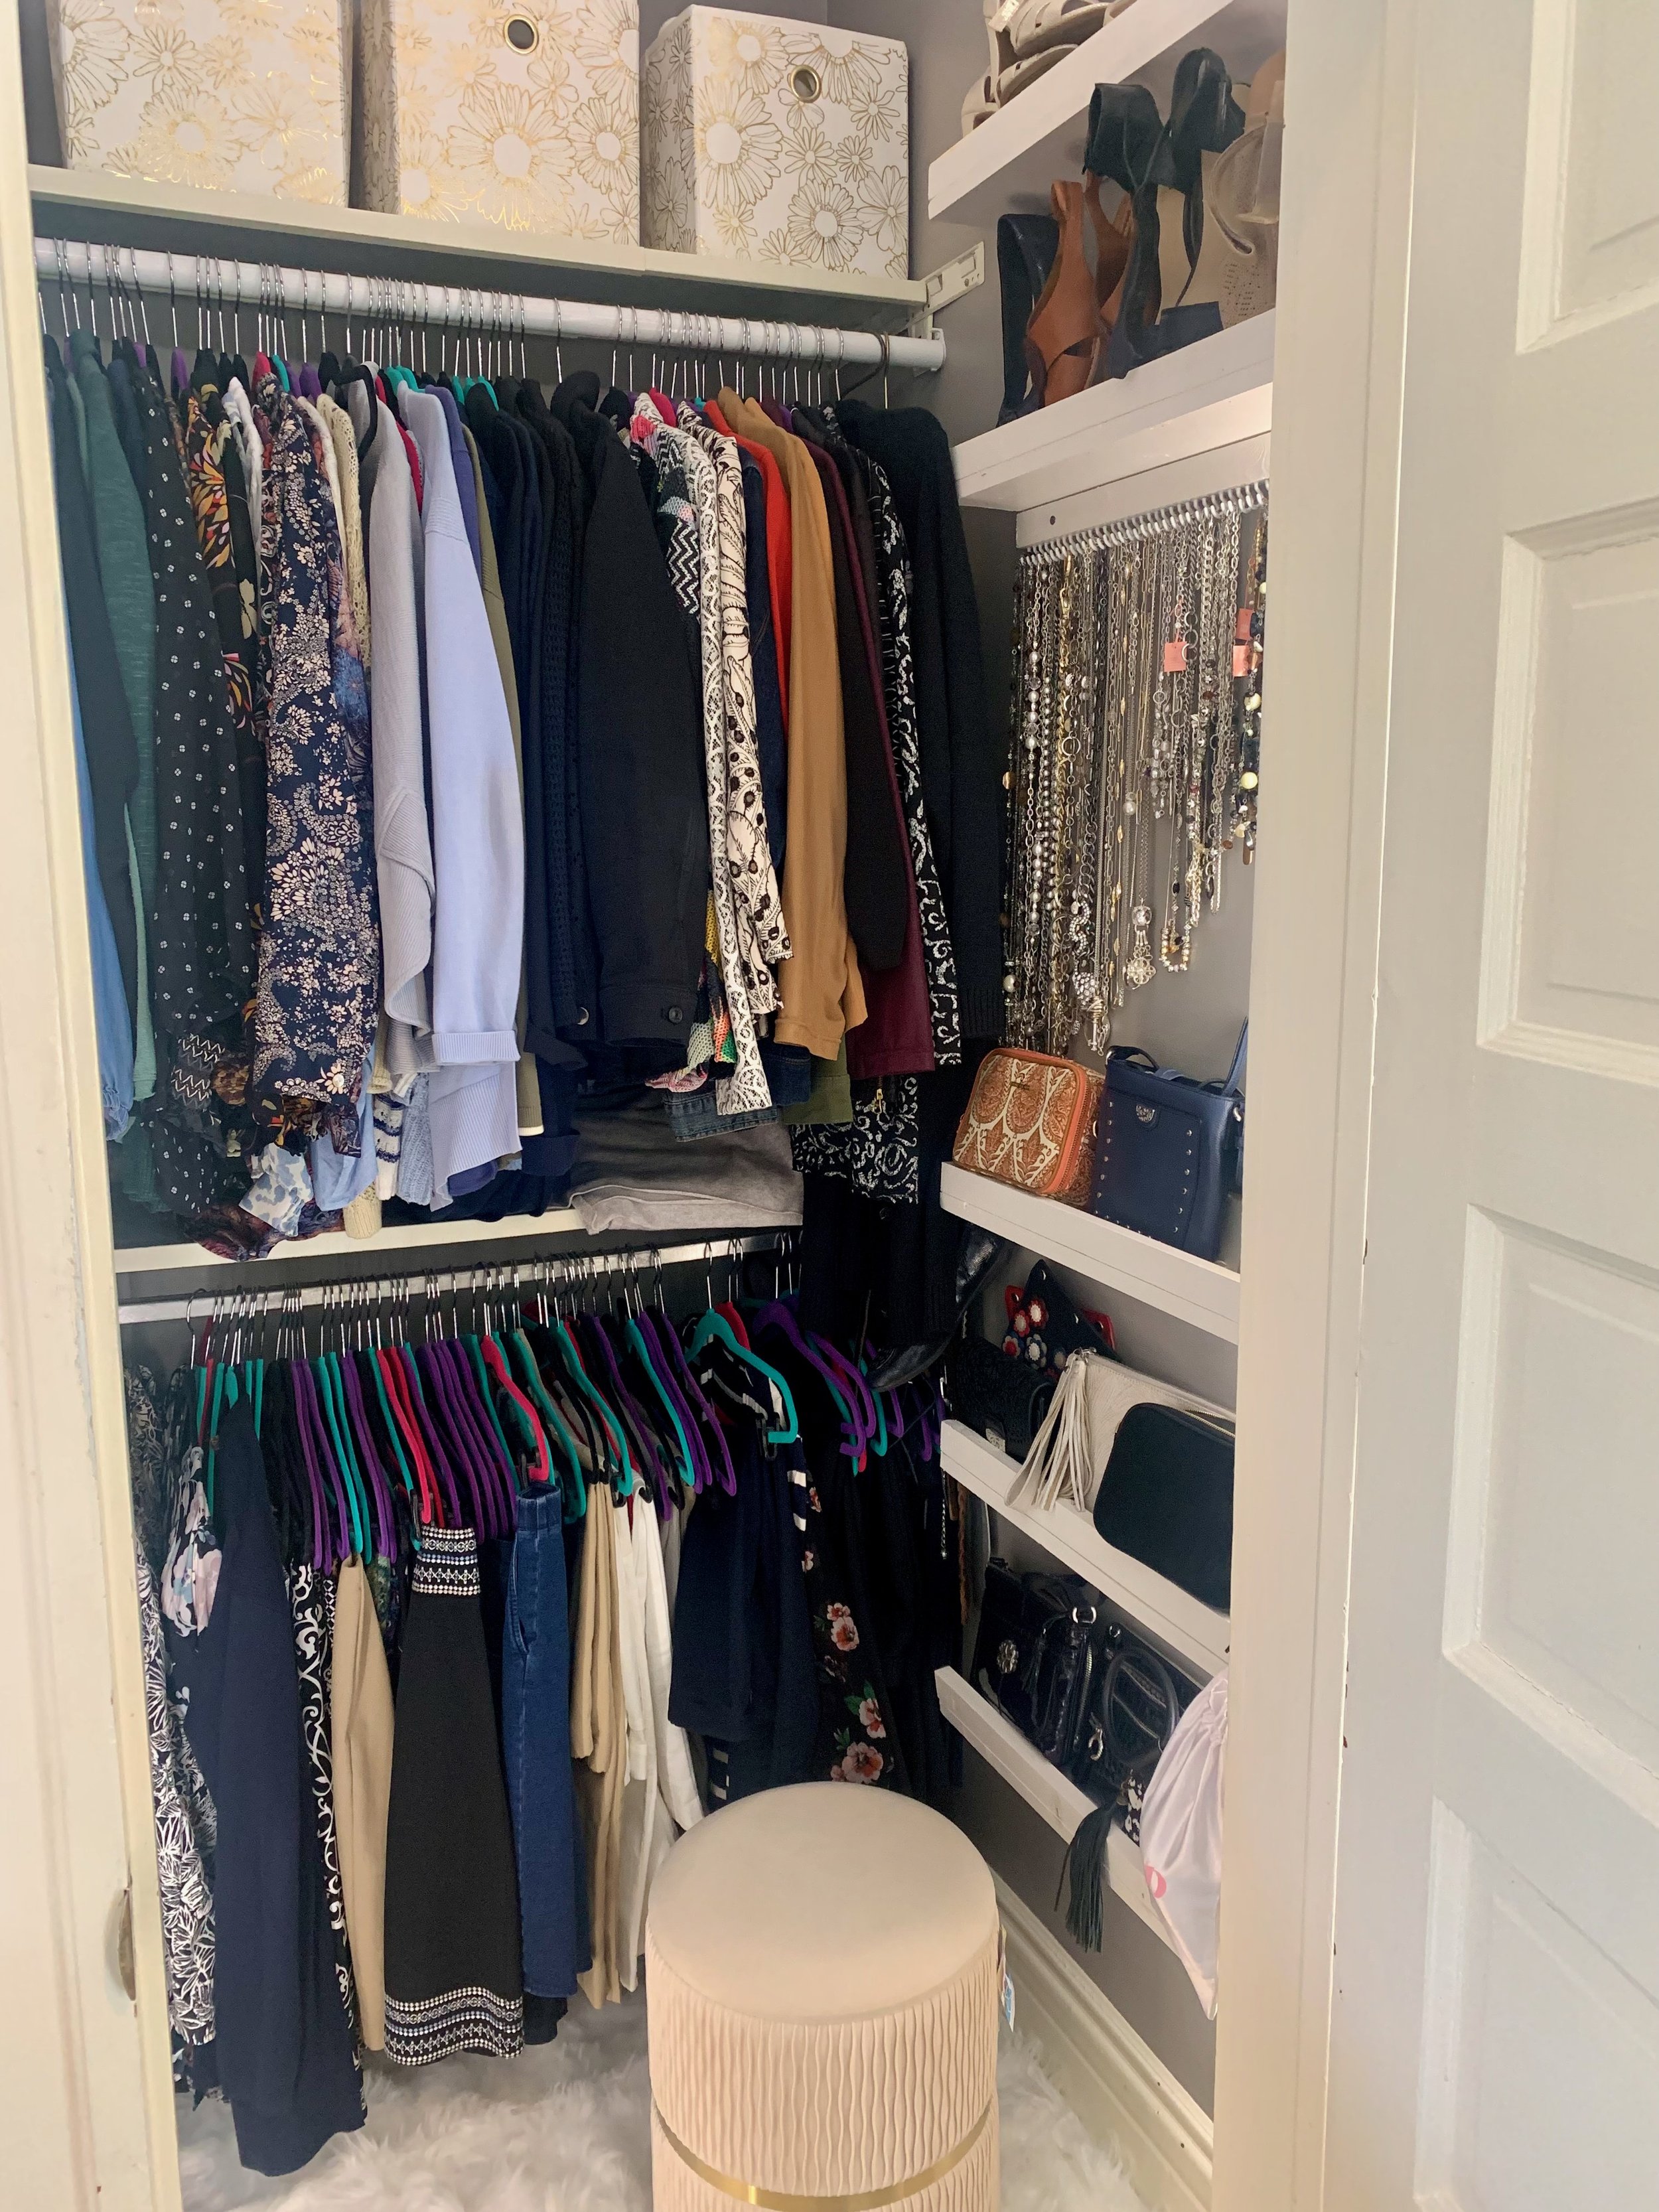
I had originally only had 1 extra shelf as a “to grow into” shelf and 3 shelves remaining. Instead of a to grow into shelf because client was now motivated to get rid of shoes she no longer wore, we ended up putting all the remaining shelves into the closet and LOVING displaying the clutches here. Now she switches her handbags every day!
Somehow in this chaos we had a leftover “lip” piece. I grabbed white cup hooks at Lowe’s. I drilled a hole every 1/2” and then twisted the cup hooks in.
We collected all her jewelry from both closets, her night stand, door knobs, her vanity, and her dresser and started hanging them from longest to shortest.
Here’s another process photo where the closet was almost complete!

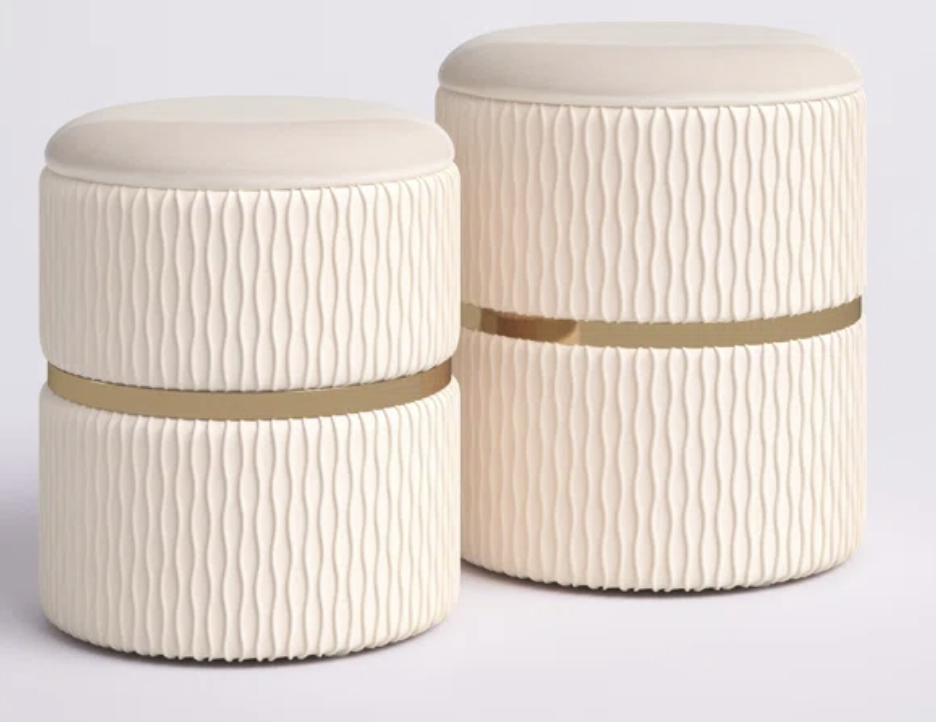
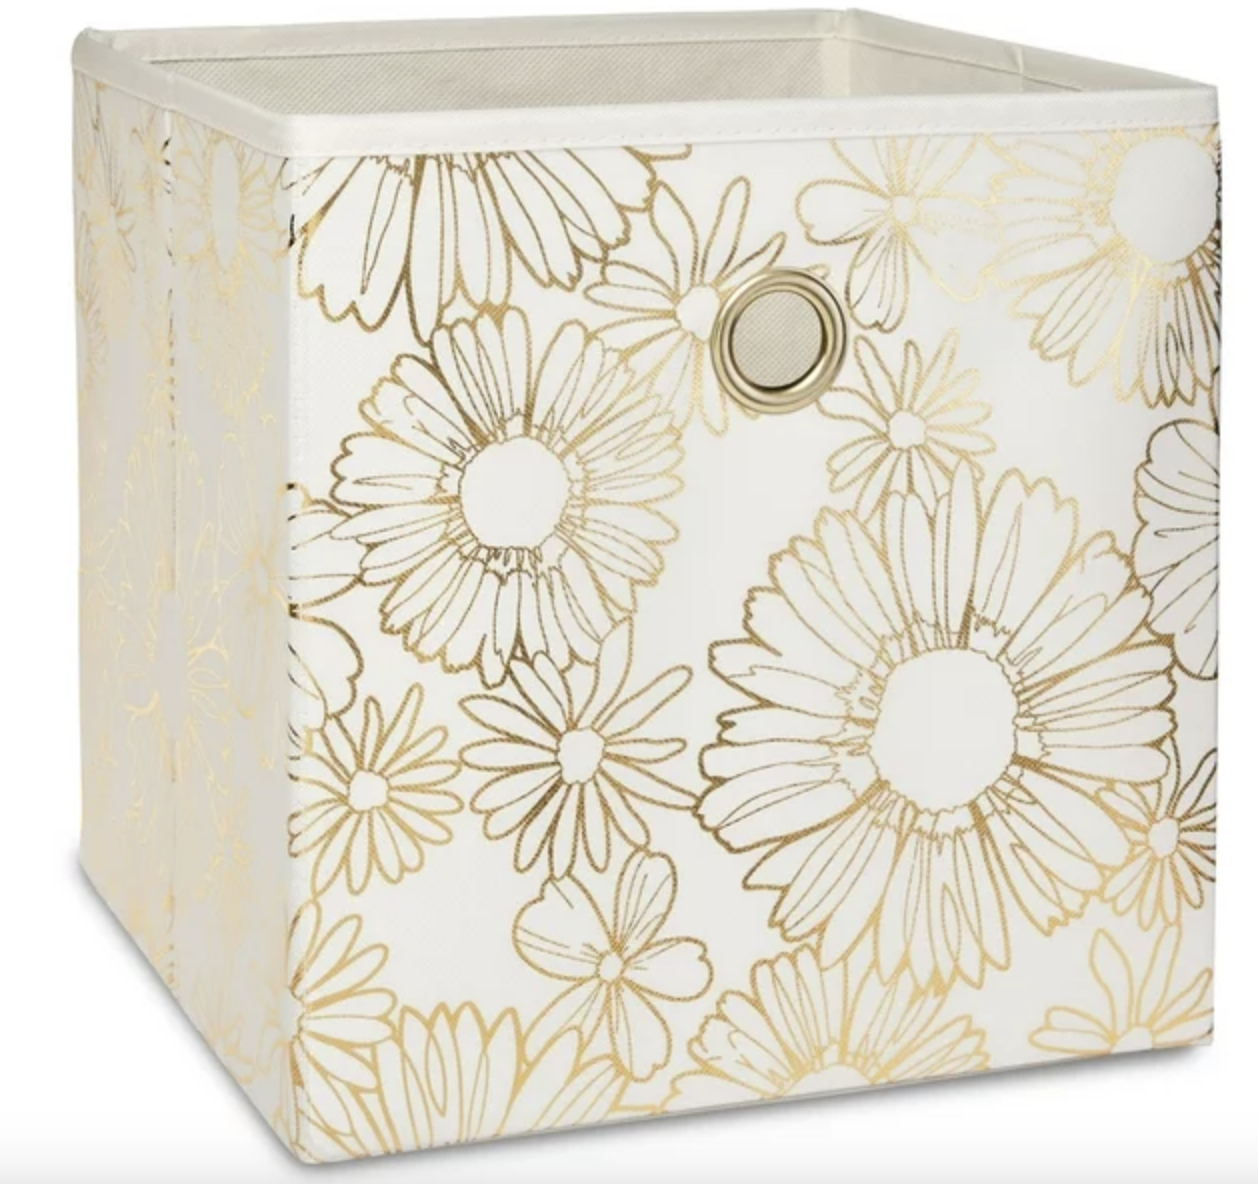
Next to swap out was a new stool and new bins. As you can see, the black bins at the top of the closet are overflowing. The black is also a wrong color for the space. It’s too heavy of a color and it weighs the whole closet down. The stool was her daughters stool from when she was a toddler - this stool is over 32 years old!
My client had the idea to empty the bins. In the bins were her swimsuits, exercise gear, and beach accessories. So instead, she swapped those items out for her undies, socks, and bras from her dresser. That way, she only had one place to go for getting dressed for the morning. It was perfect!
My next goal was finding bins and a stool that give a soft, cozy, luxury vibe. We went with these items because the price was great and she loves white, gold, and glitzy.
Before we do the final reveal, I want us to have a quick reminder of the before photo!

And here is our after!
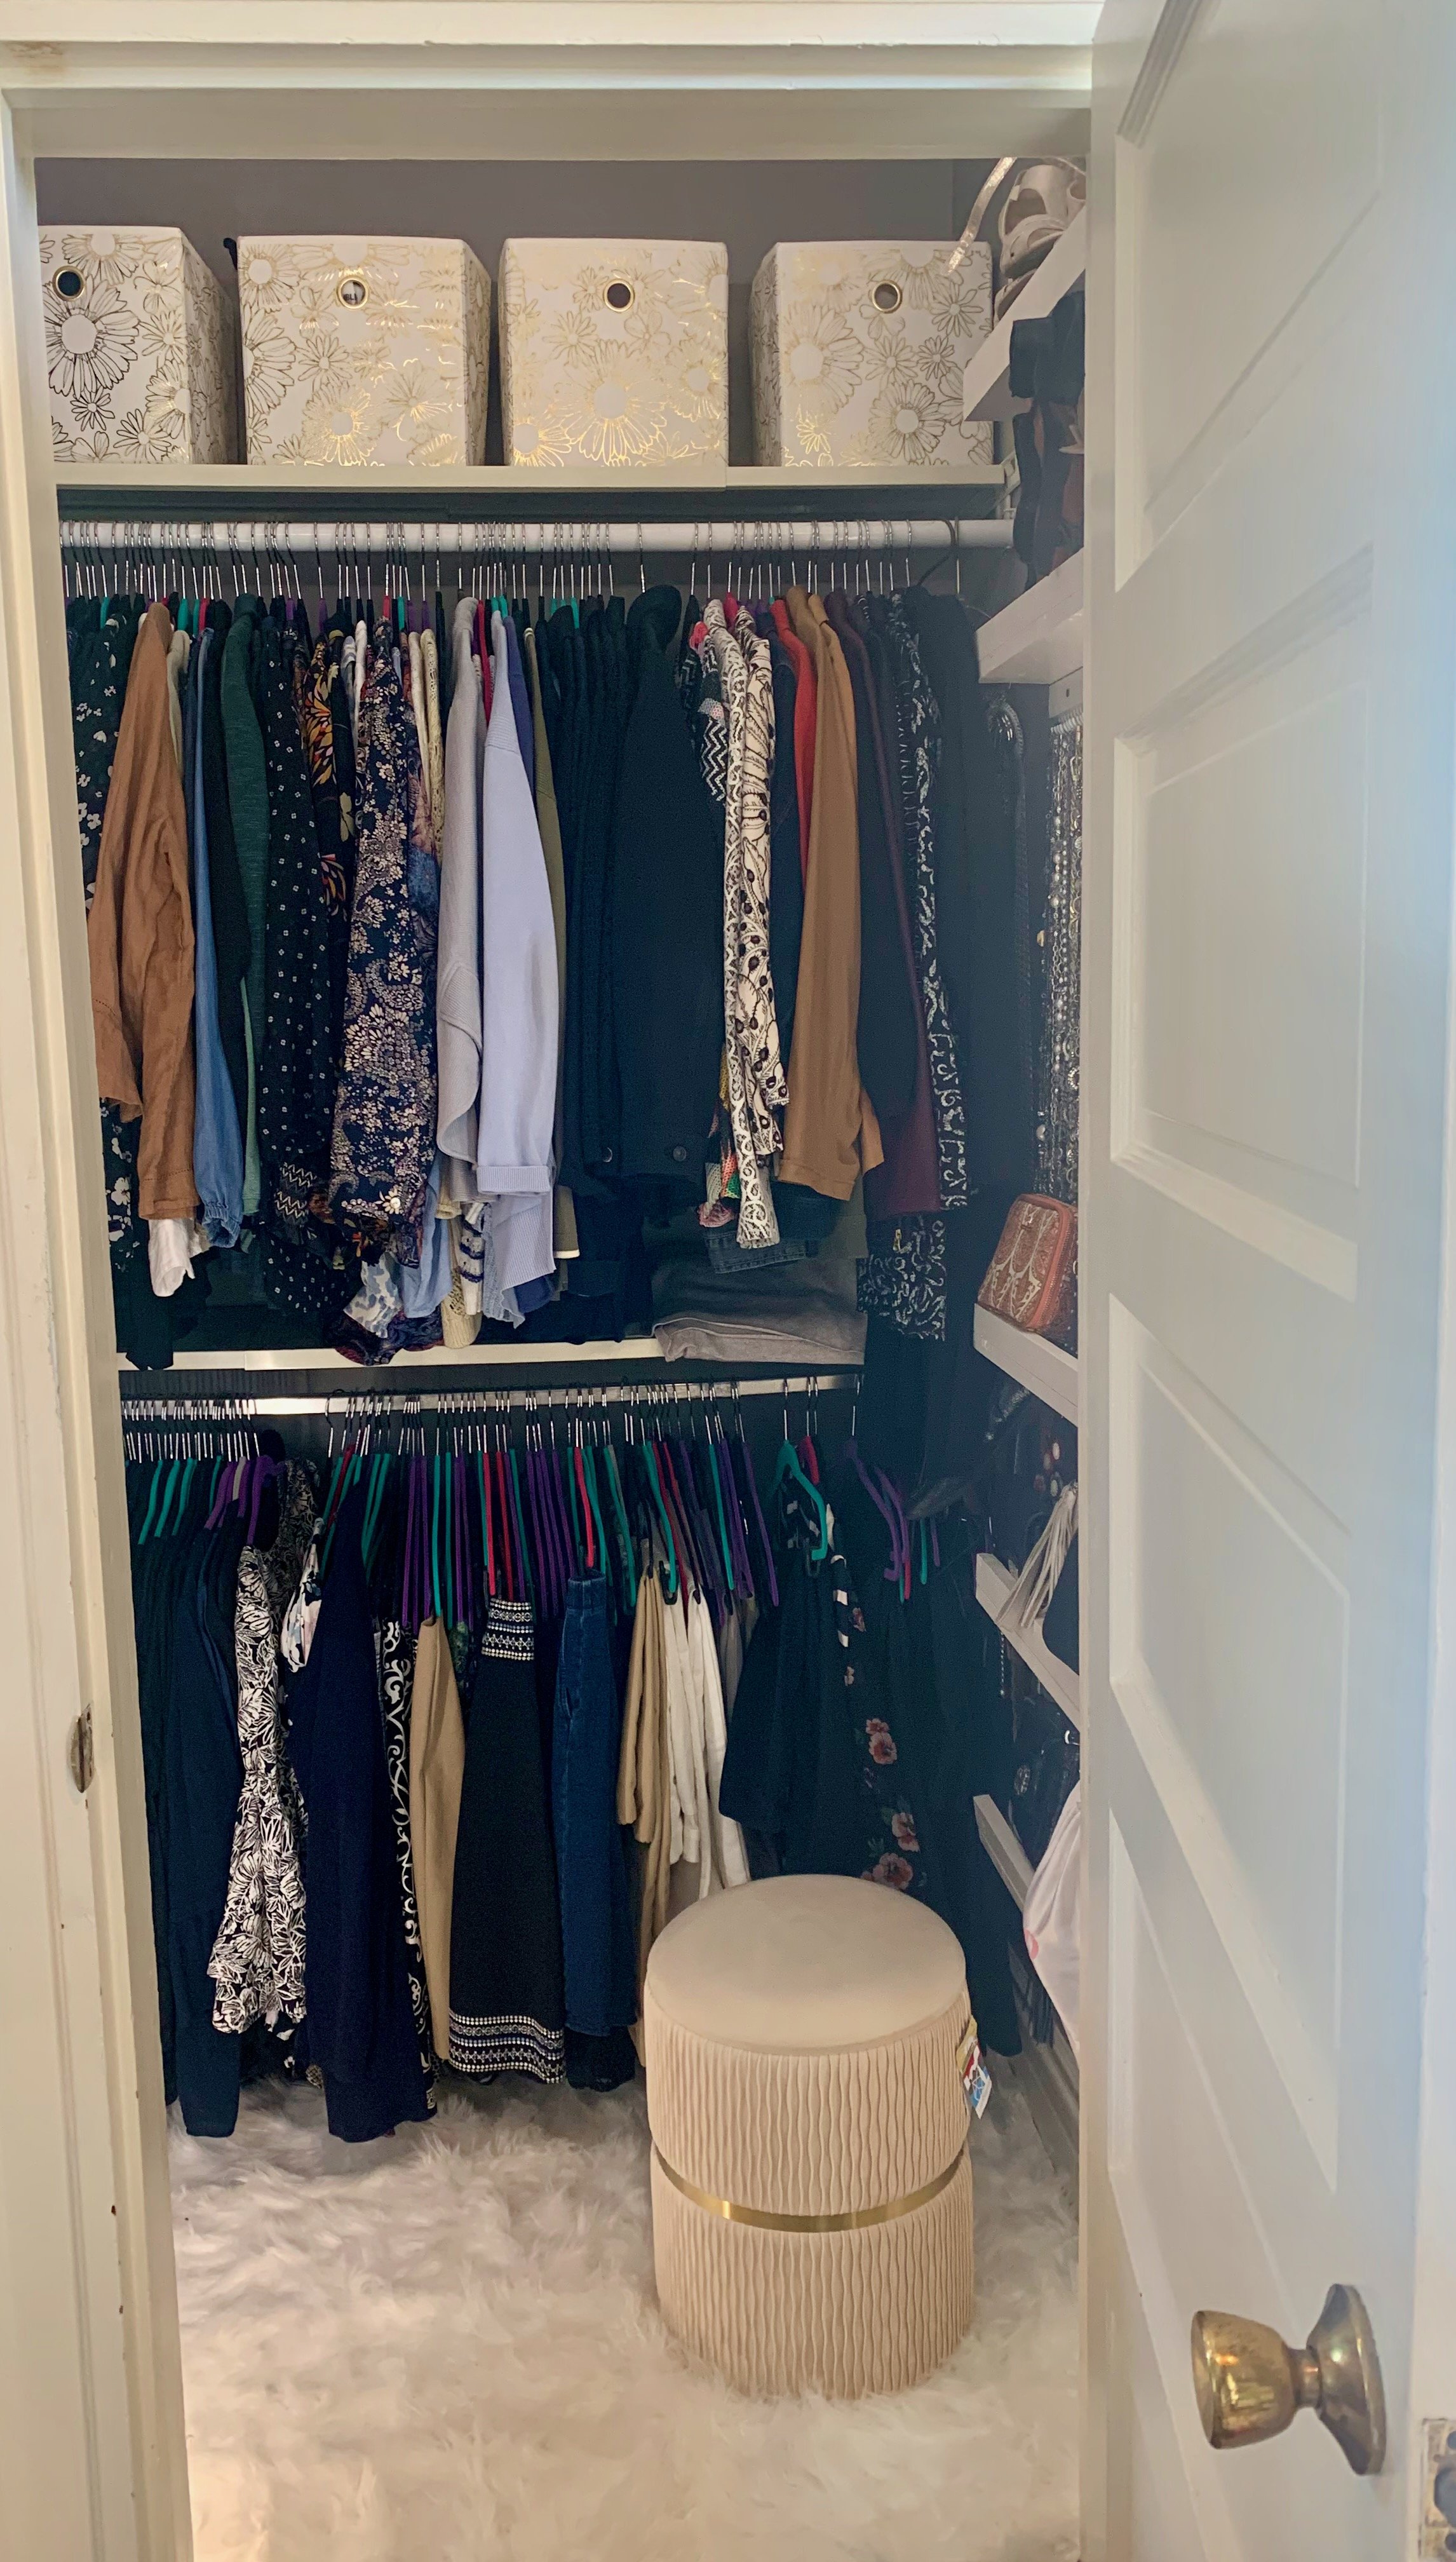
My client is happy and I am happy. She deserved a beautiful space to get ready and she got one!
It’s been a few weeks since the closet was complete and she texts me daily saying she’s wearing items she forgot she had. If you’re concerned about the space being difficult to maintain, this final photo was 3 weeks after the project was finished and she has swapped out some summer items for fall items. Still looks great!
If you need help with revisualizing your closets, please reach out!